DIY Well Pressure Tank Care: Checking Air Charge and Precharge Pressure
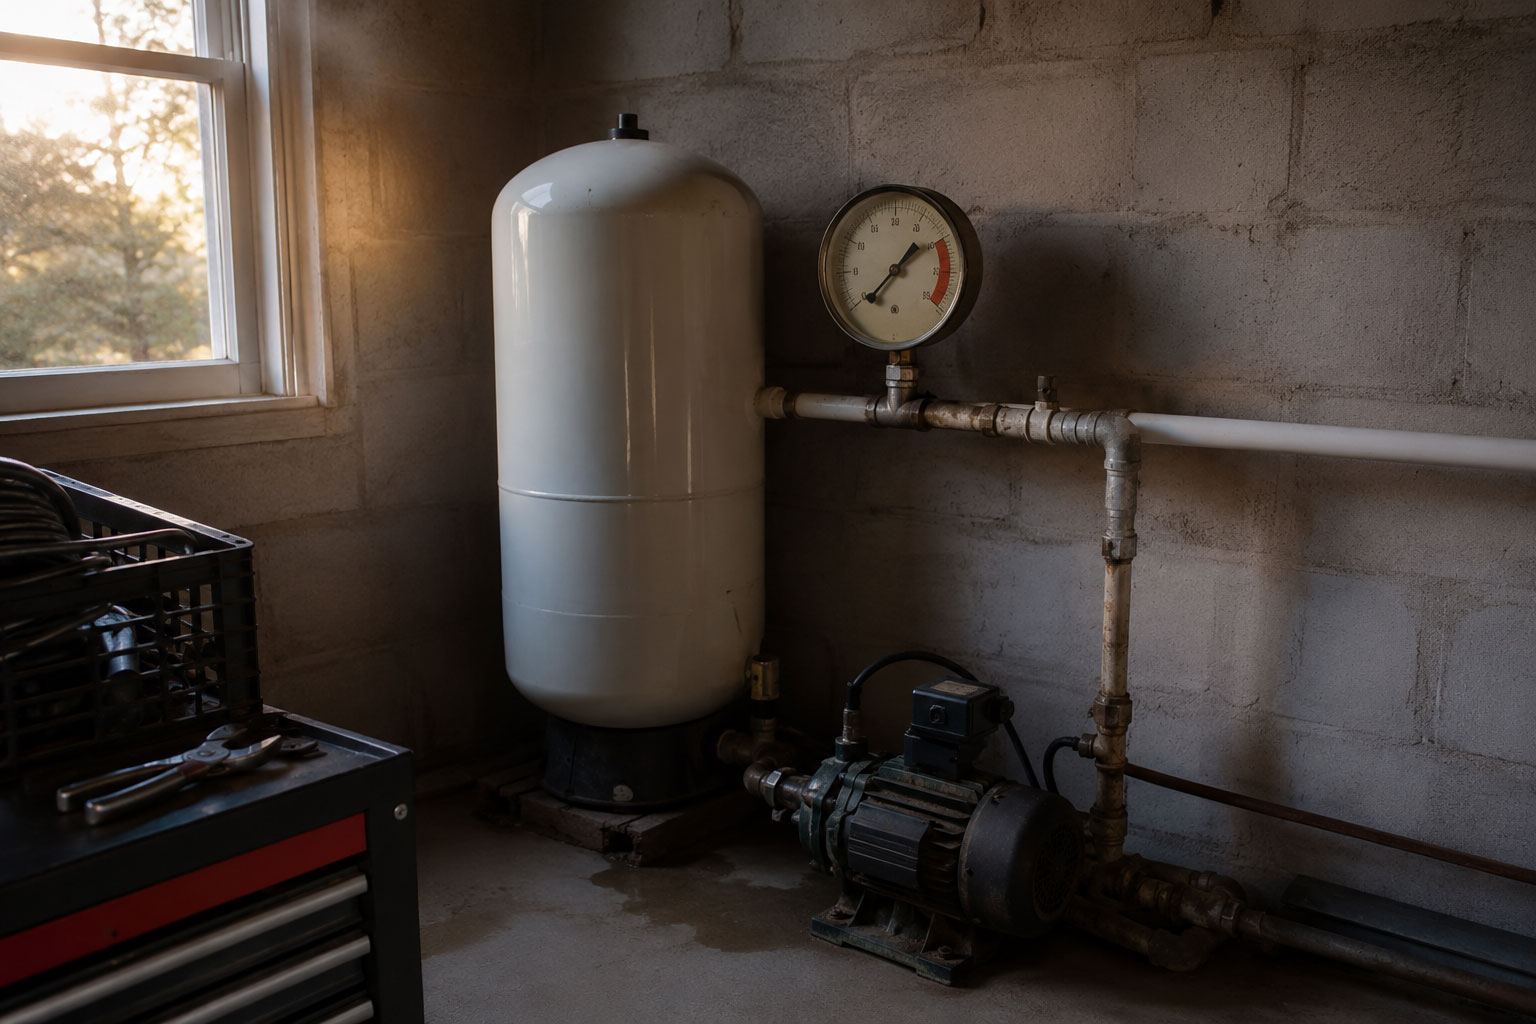
Your water well pressure tank is the unsung hero of your private water system. It provides the pressurized “air cushion” that stores water, allowing you to wash dishes, run showers, and water your lawn without forcing your deep-well pump motor to start up every single time you open a tap.
Maintaining the correct air charge (precharge pressure) inside your tank is the single most important maintenance task you can perform to double the lifespan of your well pump. This step-by-step DIY guide will show you how to test and recharge your tank like a professional.
Why Air Precharge Matters
Modern well tanks contain a rubber bladder that separates water from a pressurized chamber of air.
- The Air Cushion: Water cannot be compressed, but air can. As water is pumped into the tank, it compresses the air bladder, storing energy. When you open a tap, the expanding air pushes the water out.
- Avoiding Short Cycling: If your tank loses its air charge, the tank becomes “waterlogged.” Without an air cushion, the pressure drops instantly the moment a faucet opens, forcing your pump to click on and off rapidly. This is called short cycling, and it will destroy your pump motor in a matter of weeks. Read how to diagnose this in our Short Cycling Guide.
Step-by-Step: How to Test Your Tank’s Air Charge
To get an accurate air pressure reading, you cannot simply put a tire gauge on the tank while the system is full of pressurized water. You must follow these exact steps:
1. Identify Your Cut-In Pressure
Look at the plastic cover of your pressure switch or watch your pressure gauge as water is running. Note the exact pressure at which the pump turns on.
- If the pump starts at 30 PSI, your target air charge is 28 PSI.
- If the pump starts at 40 PSI, your target air charge is 38 PSI.
2. Turn Off the Power
Shut off the dedicated double-pole breaker for your well pump at your main electrical panel. Safety first! Learn more about power troubleshooting in our No-Water Troubleshooting Checklist.
3. Drain the System Completely
Open a garden hose, outdoor faucet, or indoor sink and let the water run until the flow stops completely. Leave the valve open. The pressure gauge on your system should read exactly 0 PSI.
4. Locate the Air Valve
Look on the top or upper side of your pressure tank. You will see a small plastic cap covering a standard Schrader valve (exactly like the valve stem on a car tire). Remove the cap.
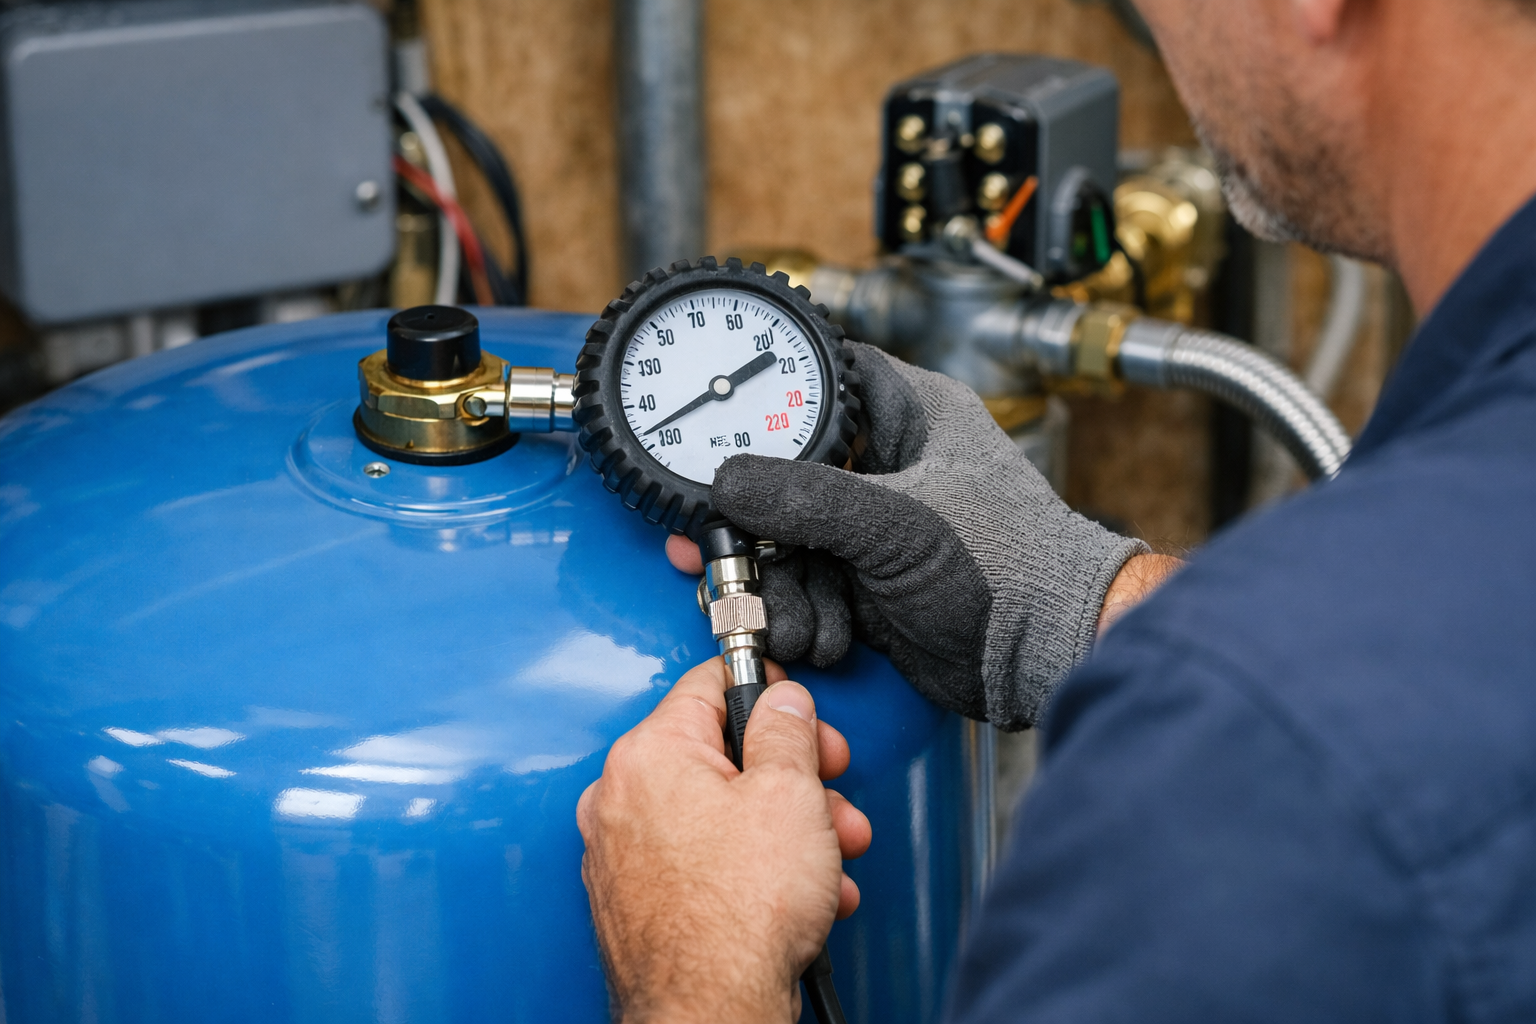
5. Check Pressure with a Tire Gauge
Use a high-quality, digital or dial tire pressure gauge to measure the pressure at the valve stem.
- If the pressure is correct (2 PSI below cut-in): Your tank is in perfect health. Screw the cap back on, close your faucets, and turn the power back on.
- If the pressure is too low: You need to add air (see below).
- If water squirts out of the valve: Your tank’s internal rubber bladder has ruptured. Air has mixed with water, and the tank is waterlogged. The only solution is to replace the tank. Read about sizing a new tank in Small Farm Pressure Tank Sizing.
Step-by-Step: How to Recharge Your Tank
If your air pressure reading is below the target, you can easily recharge it:
- Keep the Faucets Open: Ensure the water drain valves remain open so any displaced water can escape as you add air.
- Attach an Air Compressor: Connect a manual hand pump or an electric air compressor to the tank’s Schrader valve.
- Pump Air Slowly: Add air in small increments, checking the pressure gauge frequently. Bring the air pressure up to exactly 2 PSI below your pump’s cut-in pressure (e.g., 38 PSI for a 40/60 system).
- Close Faucets and Restore Power: Once the target pressure is reached, replace the valve cap, close all open drain faucets, and flip the electrical breaker back on.
- Monitor the System: Watch the pressure gauge through a complete cycle to ensure the system starts and stops smoothly without a drop in pressure.
Need Help with Your Water Pressure?
While checking your air charge is a highly manageable DIY project, handling large, commercial, or agricultural pressure tanks requires specialized equipment. If your tank keeps losing air or your system’s water pressure remains weak, let the experts at Ingram Pump & Equipment diagnose the issue.
- Check Our Home Well Services
- Schedule an Annual Well Inspection
- Call our Visalia office today at (559) 734-3362
Frequently Asked Questions
What should the air pressure be in my well pressure tank?
Your pressure tank's air precharge should be exactly 2 PSI below your pump's cut-in (start-up) pressure. For a 30/50 PSI system, the air charge should be 28 PSI. For a 40/60 PSI system, it should be 38 PSI.
How often should I check my well tank's air pressure?
We recommend checking your pressure tank's air pressure at least once a year, preferably in the spring before heavy summer watering and irrigation demands put peak stress on your well pump.
What happens if my pressure tank has too much air?
If the air precharge is higher than the pump's cut-in pressure, your water system will experience a sudden, temporary drop in water pressure (a complete pause in water flow) before the pump finally turns on.
Related Articles
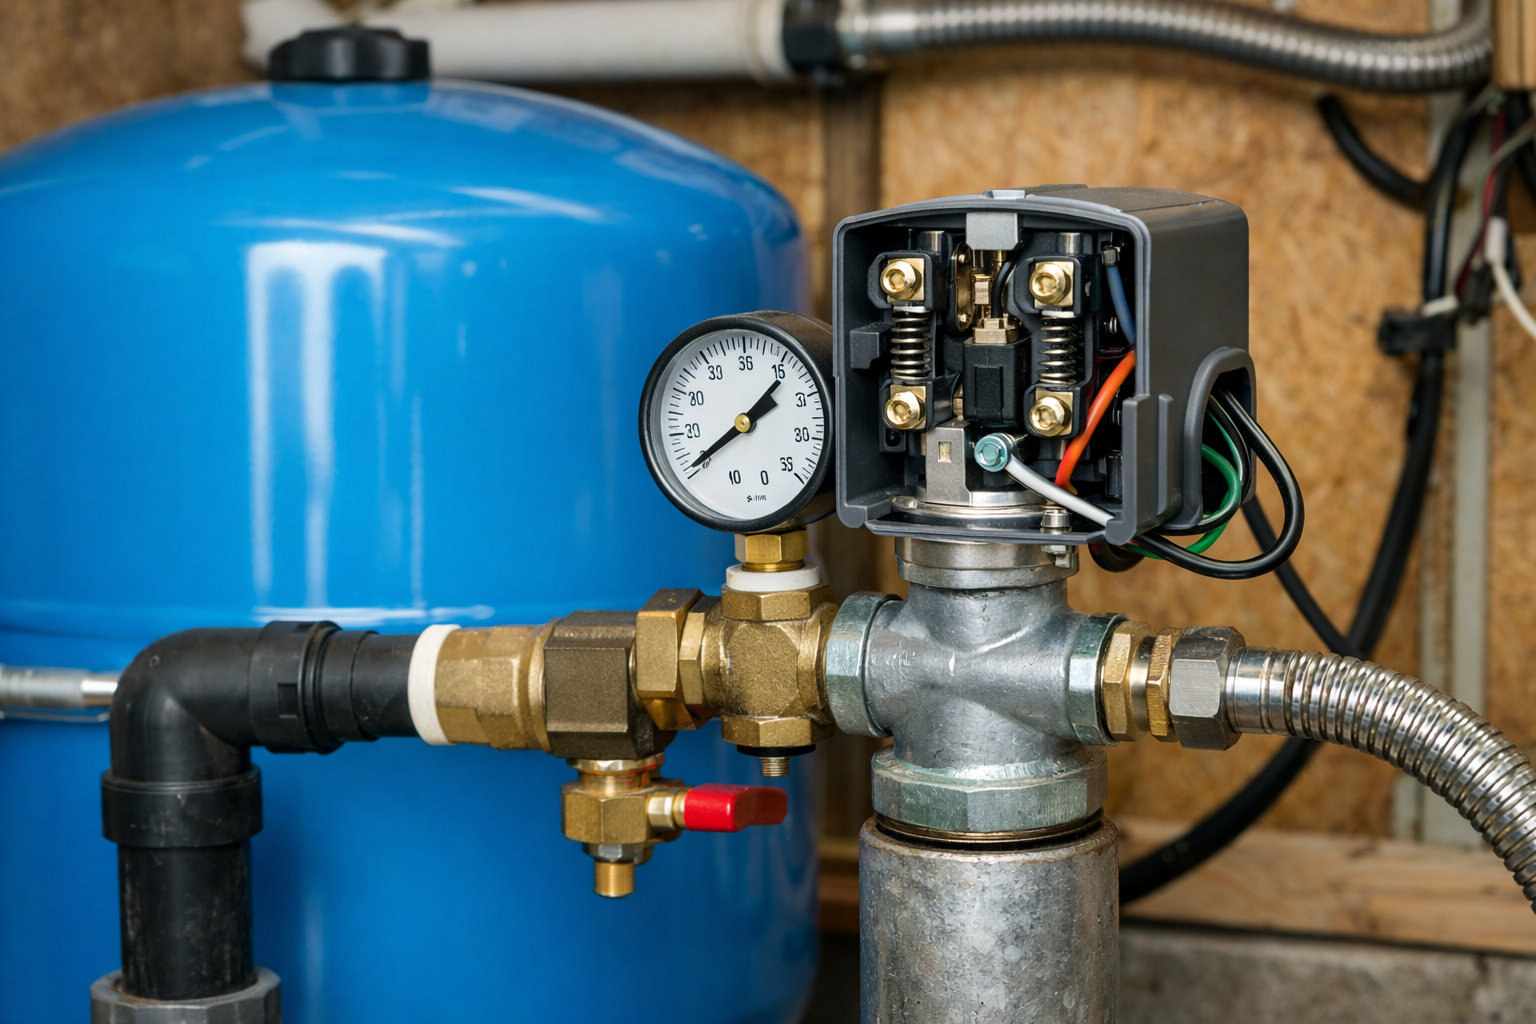
DIY Guide: Inspecting and Replacing Your Well’s Pressure Switch and Gauge
Learn how to safely inspect, clean, and replace your water well pressure switch and gauge. Follow our step-by-step DIY guide for Central Valley homeowners.
Why Is My Well Pump Not Starting? A Homeowner's Checklist
No water on your Central Valley property? Follow this step-by-step homeowner's well pump troubleshooting checklist to resolve common power and switch issues.
Why Is My Well Pump Short Cycling? (And How to Prevent Motor Burnout)
Does your well pump turn on and off rapidly? Discover what short cycling is, why a waterlogged pressure tank is the main cause, and how to fix it before your pump motor burns out.