DIY Guide: Inspecting and Replacing Your Well’s Pressure Switch and Gauge
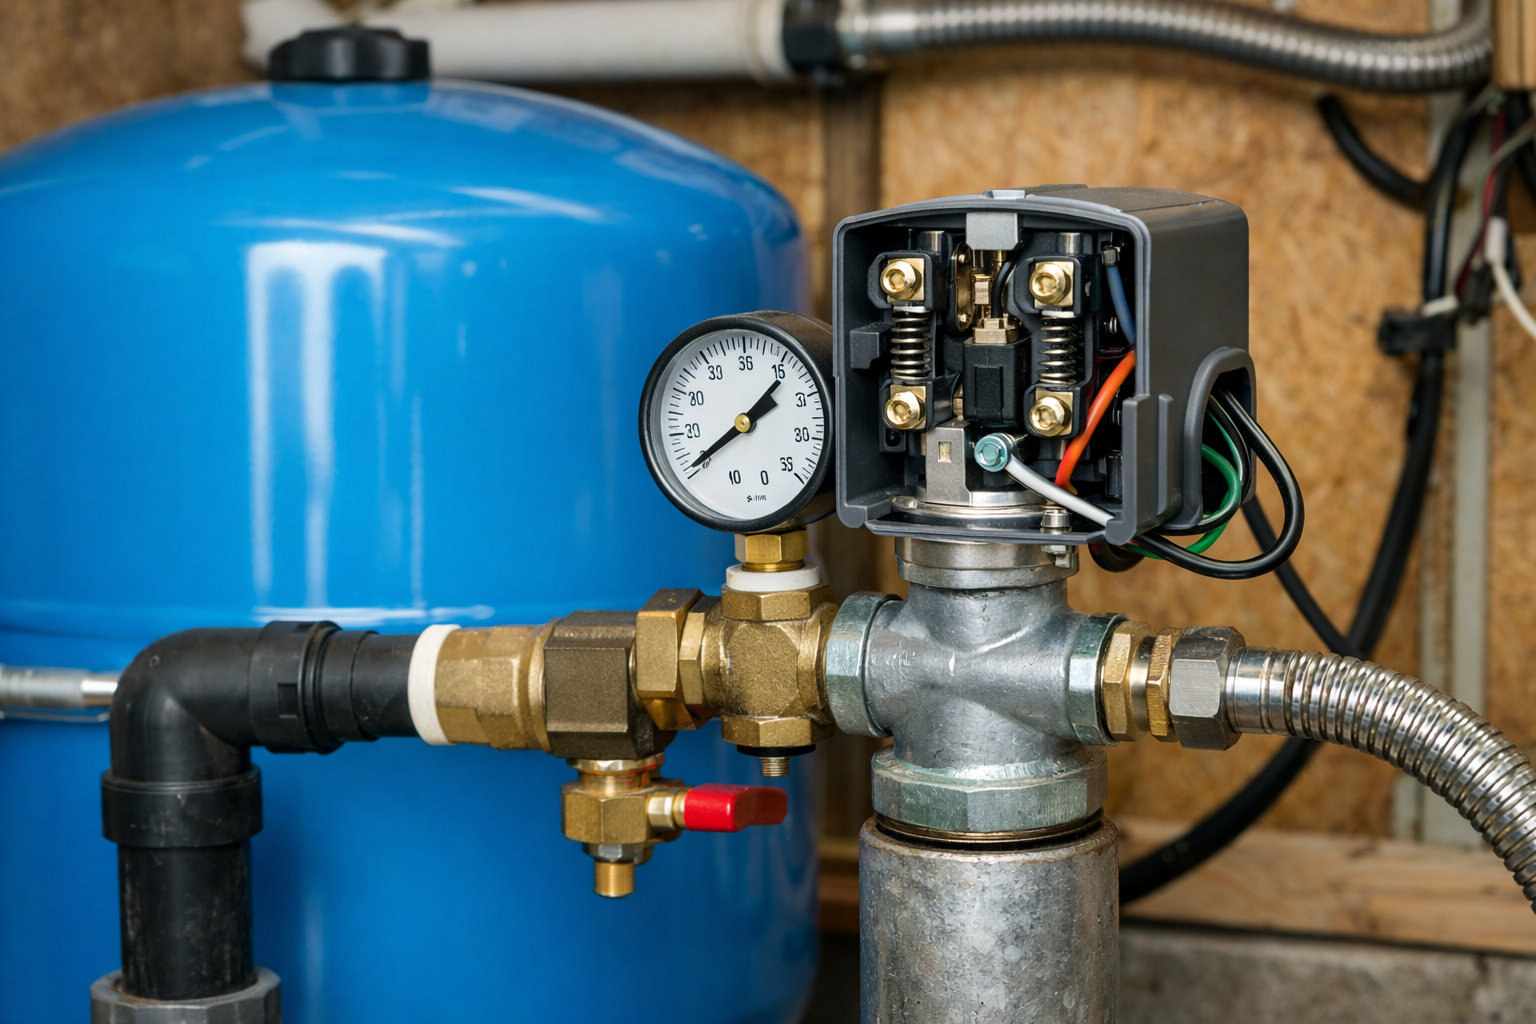
The pressure switch is the absolute “brain” of your private water well system. It senses the water pressure in your system and tells your pump exactly when to turn on and turn off. If your pressure switch fails, your entire water system goes dark.
For the average DIY-savvy homeowner in the San Joaquin Valley, inspecting, cleaning, and even replacing a faulty pressure switch or gauge is a highly manageable project that can save you hundreds of dollars in service fees.
Warning: Safety First!
Before you touch any part of your pressure switch, you must turn off all electrical power at your main breaker box. A standard well pump runs on 230 volts, which can be highly dangerous. Always use a non-contact voltage tester under the switch cover to confirm the power is fully deactivated before proceeding.
How the Pressure Switch Works
Your system works on a set pressure range, typically 30/50 PSI or 40/60 PSI:
- Cut-In Pressure (30 or 40 PSI): When you run water, the pressure in the tank drops. When it hits this low-point limit, the metal contacts in the switch snap closed, sending electricity to start the pump.
- Cut-Out Pressure (50 or 60 PSI): The pump refills the pressure tank. Once the high-pressure limit is reached, the contacts snap open, cutting power and stopping the pump.
If your pump is clicking on and off rapidly, it might not be a switch issue, but rather a waterlogged tank. Learn more in our Well Pump Short Cycling Guide.
Step 1: Checking the Pressure Gauge
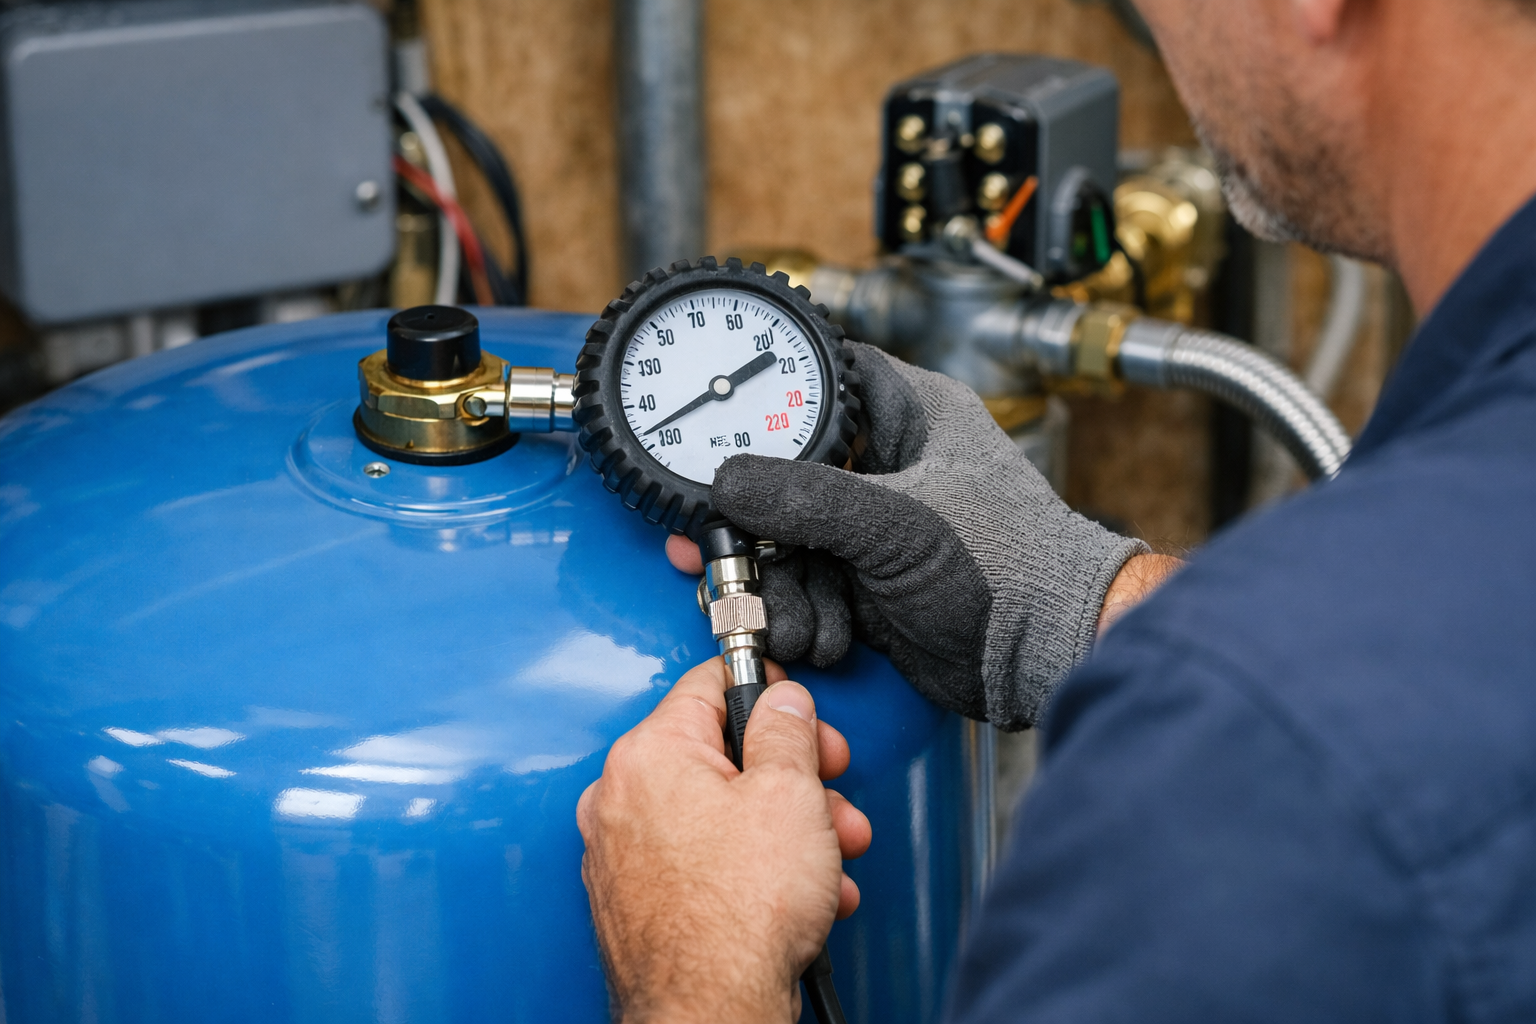
Your pressure gauge is the dial that shows the live pressure in your lines. Over time, these gauges get stuck, corroded, or clogged with hard-water mineral scale.
- Observe the Needle: With a faucet running, watch the dial. If the needle remains stuck at 0 or a high number while water flow changes, the gauge is faulty and needs replacement.
- Tap the Dial Gently: Sometimes a light tap will free a stuck needle, but a failing gauge should always be replaced. It is a cheap, standard 1/4-inch brass fitting available at any local hardware store.
Step 2: Testing and Cleaning the Switch
Many “failed” switches are simply clogged with the fine sand or calcium scale common in Tulare and Kings County groundwater.
- Inspect the Contact Points: With the power breaker fully off, remove the plastic cover. Look closely at the silver electrical contacts. If they are covered in black soot (pitted) or filled with dead ants, clean them gently with a piece of fine-grit sandpaper.
- Inspect the Sensing Pipe: Unscrew the pressure switch from its mounting nipple. Look inside the bottom hole of the switch and the metal tube it sits on. If you see a plug of rust, sand, or white mineral scale, clean it out using a small drill bit or wire brush. This simple clean-out often restores a dead switch immediately! For details on how local soils cause this, read How Central Valley Soil Affects Well Water.
Step 3: Replacing a Bad Pressure Switch
If the contacts are heavily burned or the internal metal spring has snapped, it’s time to install a new switch. Standard replacement switches (like Square D models) are inexpensive and widely available.
- Take a Picture: Before disconnecting any wires, take a high-resolution photo of the wiring connections.
- Label Your Wires: Mark which wires come from the electrical panel (Line) and which wires go to the pump motor (Load).
- Unscrew the Old Switch: Use a wrench to unscrew the switch from the pipe nipple. Clean the pipe threads.
- Apply Thread Tape: Wrap Teflon tape around the nipple threads to ensure a water-tight seal.
- Screw on the New Switch: Thread the new switch on hand-tight, then tighten it with a wrench until snug and facing the right direction.
- Wire It Up: Reconnect the wires exactly as shown in your photo. Ensure the copper ground wires are securely connected to the green grounding screws.
- Re-prime and Test: Turn the power back on. Watch the pressure gauge to ensure the pump cuts in and out at the correct pressures. Check for any water leaks around the new fittings.
When to Call in the Experts
While replacing a switch is a straightforward DIY task, some issues require professional diagnostic tools. If your new switch clicks but the pump still refuses to run, the issue could be a burned-out pump control box, a damaged underground cable, or a seized submersible motor deep in the well casing.
At Ingram Pump & Equipment, we have four generations of experience troubleshooting complex electrical well problems across Tulare County.
- Check Our Troubleshooting & Repair Services
- Request a Professional Diagnostic Visit
- Call us at (559) 734-3362 for emergency support
Frequently Asked Questions
What are the signs of a bad well pressure switch?
Common signs include a pump that won't start, water pressure that drops to zero before the pump kicks on, or a pump that runs continuously and won't shut off. You may also hear a rapid clicking sound near the pressure tank.
Can a pressure switch get clogged by sediment?
Yes, absolutely. In the Central Valley, fine sand and mineral scale can clog the small 1/4-inch pipe (nipple) leading to the switch. This blocks water pressure from reaching the sensor, preventing it from turning the pump on.
How do I know what my pressure switch settings are?
Standard systems run on either a 30/50 PSI or 40/60 PSI cycle. The lower number is the cut-in pressure (when the pump starts), and the higher number is the cut-out pressure (when it stops). These numbers are usually printed on the inside of the switch cover.
Related Articles
Why Is My Well Pump Not Starting? A Homeowner's Checklist
No water on your Central Valley property? Follow this step-by-step homeowner's well pump troubleshooting checklist to resolve common power and switch issues.
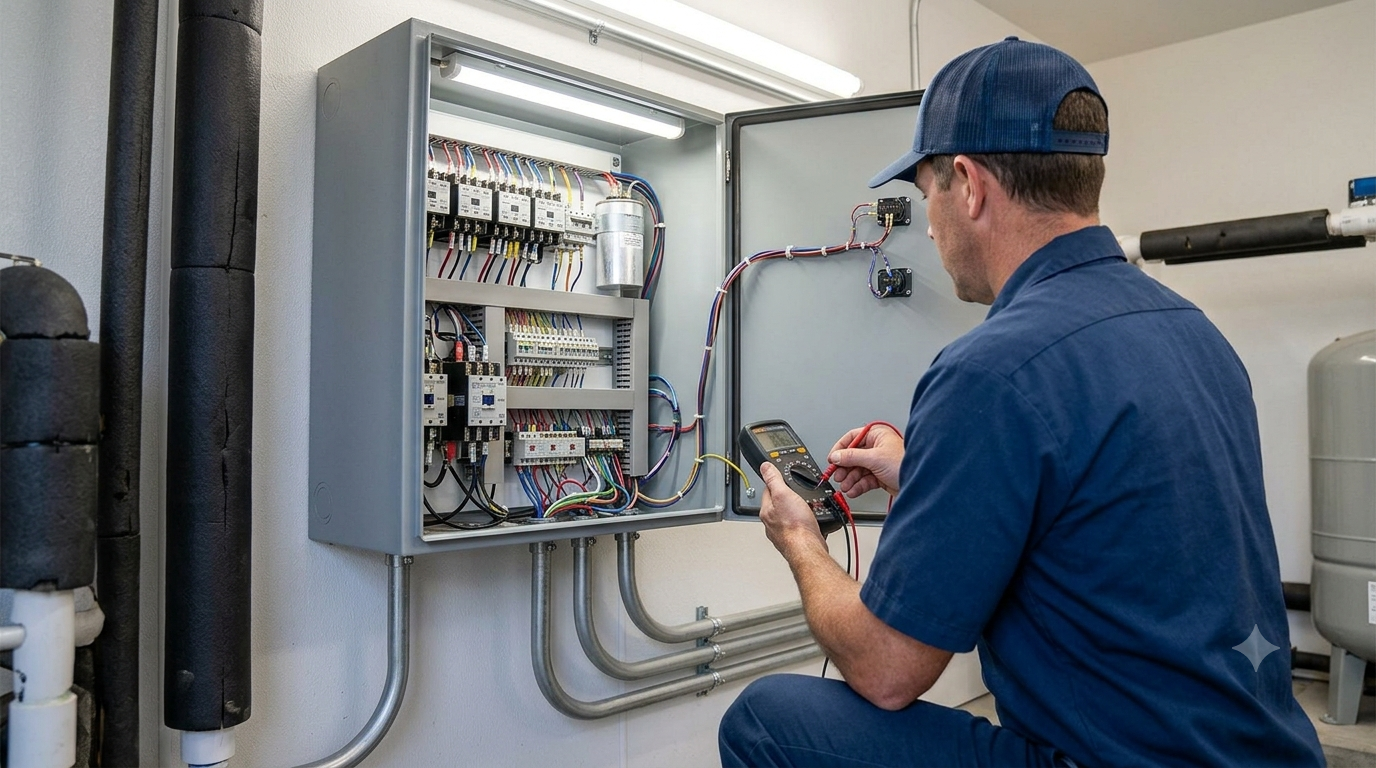
Inspecting Your Well’s Electrical System: Breakers, Wiring, and Control Boxes
A homeowner’s guide to well pump electrical systems. Learn how to inspect breakers, wiring, control boxes, and pressure switches safely to prevent system failure.
DIY Well Pressure Tank Care: Checking Air Charge and Precharge Pressure
A step-by-step DIY guide on checking, testing, and recharging your water well pressure tank air precharge pressure to extend your pump lifespan.